BBQ Baked Chicken Thighs is an easy recipe that makes the juiciest, tastiest oven-baked barbecue chicken. It only calls for 2 main ingredients, a few minutes of prep, and will become a weeknight dinner favorite. This recipe includes instructions for both bone-in, skin-on and boneless, skinless thighs!
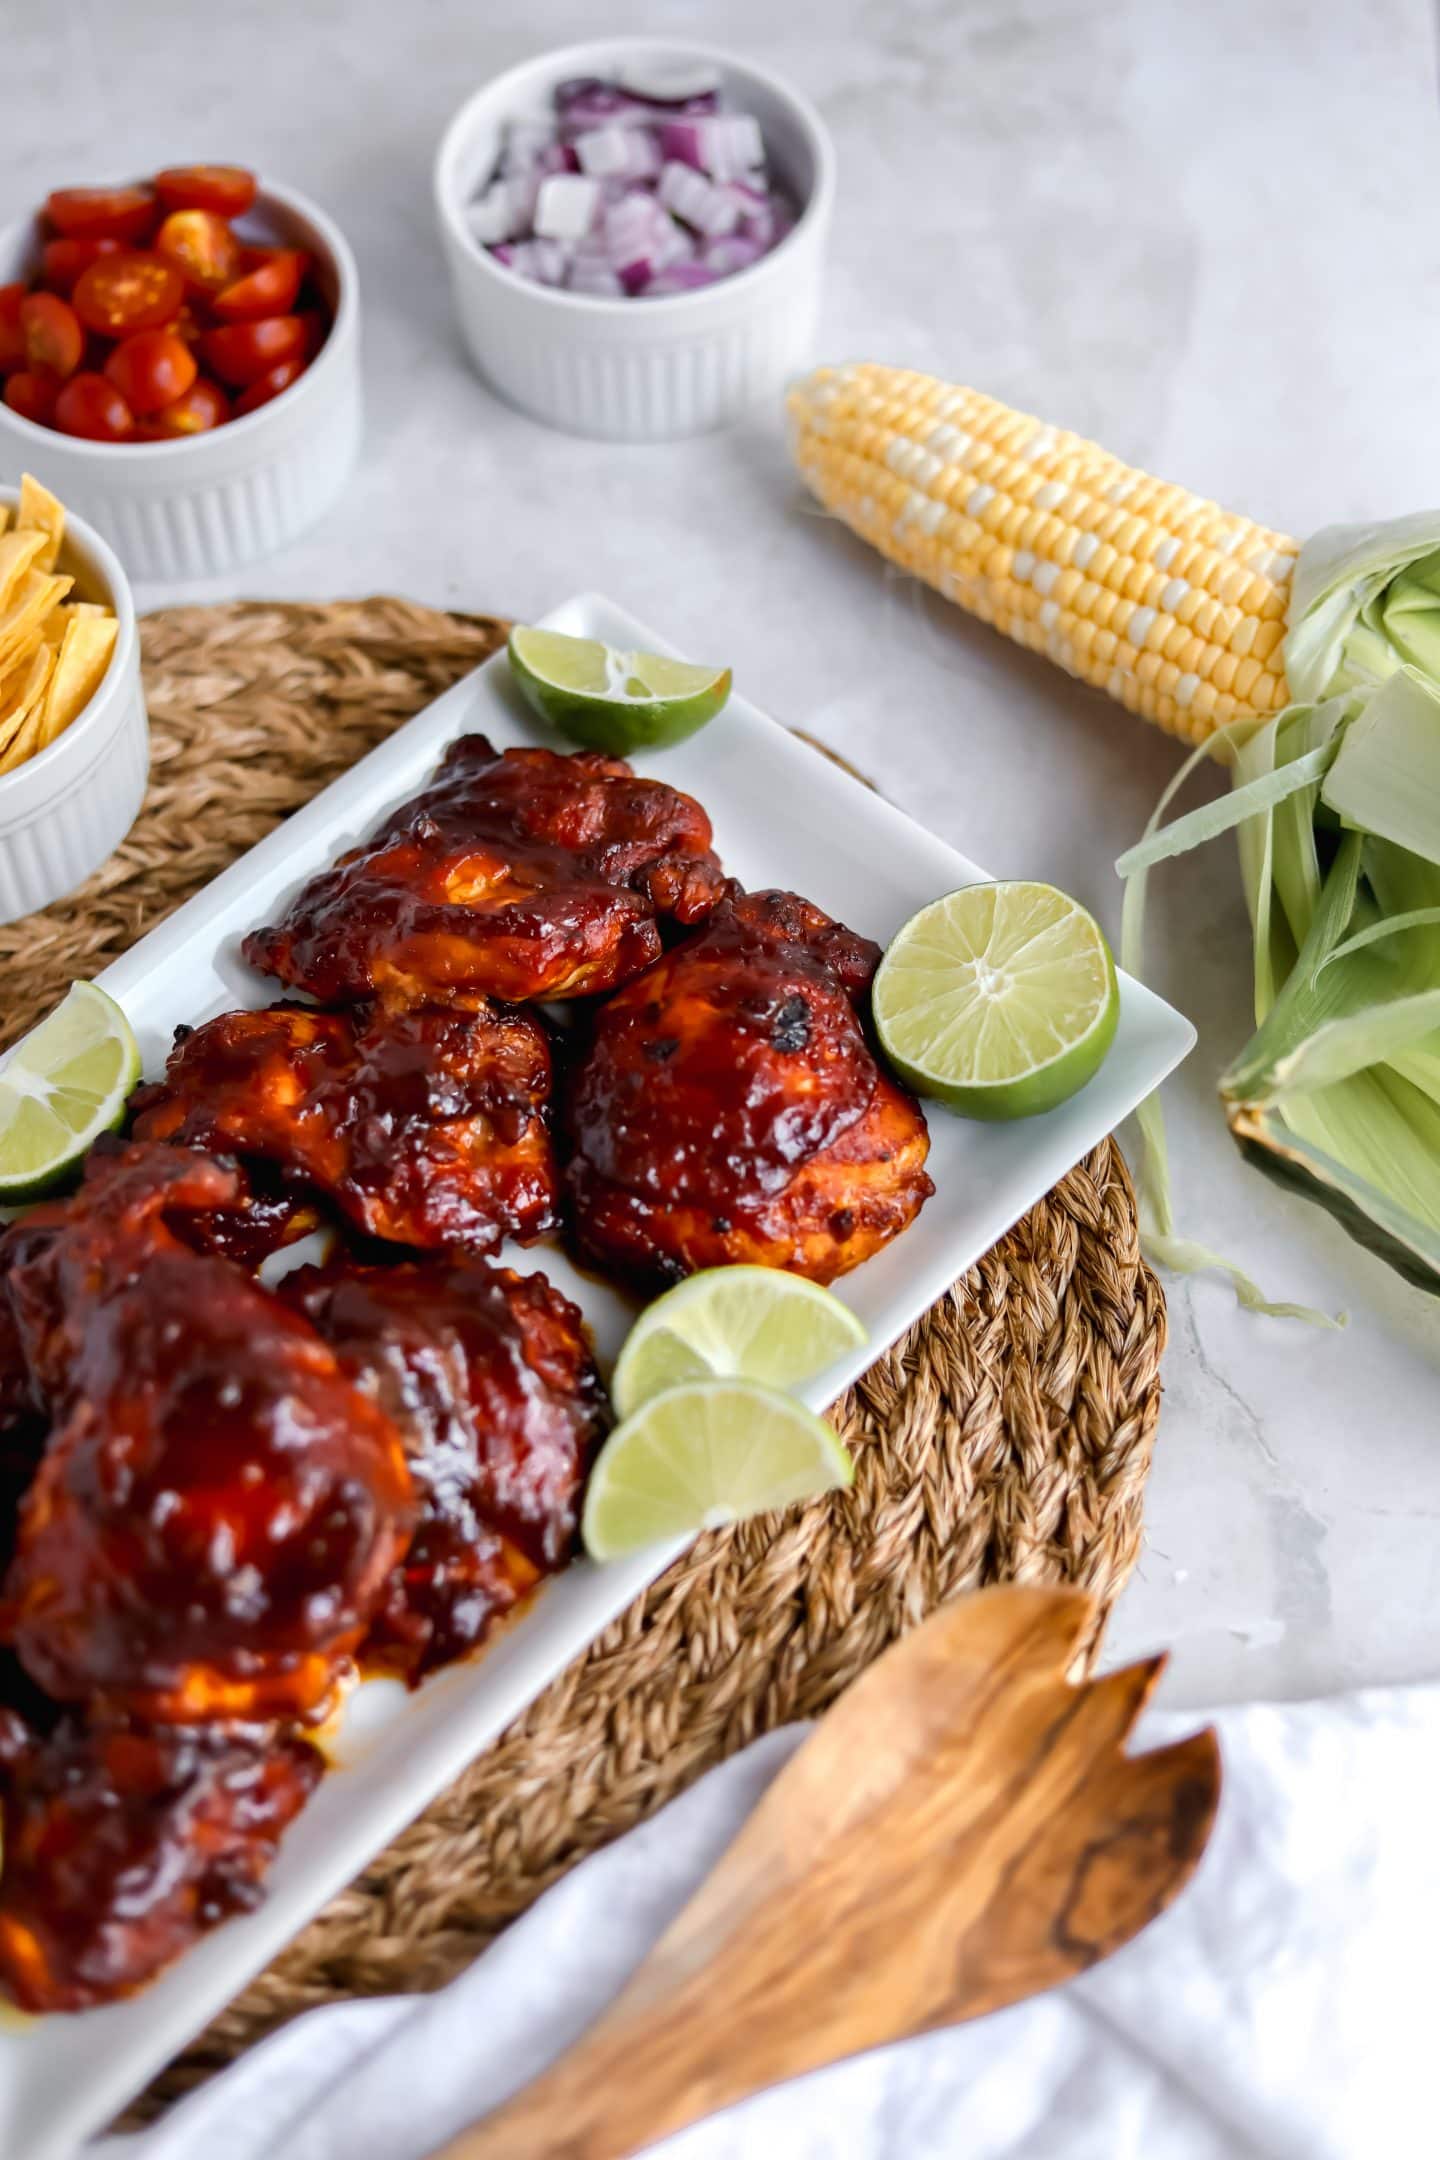
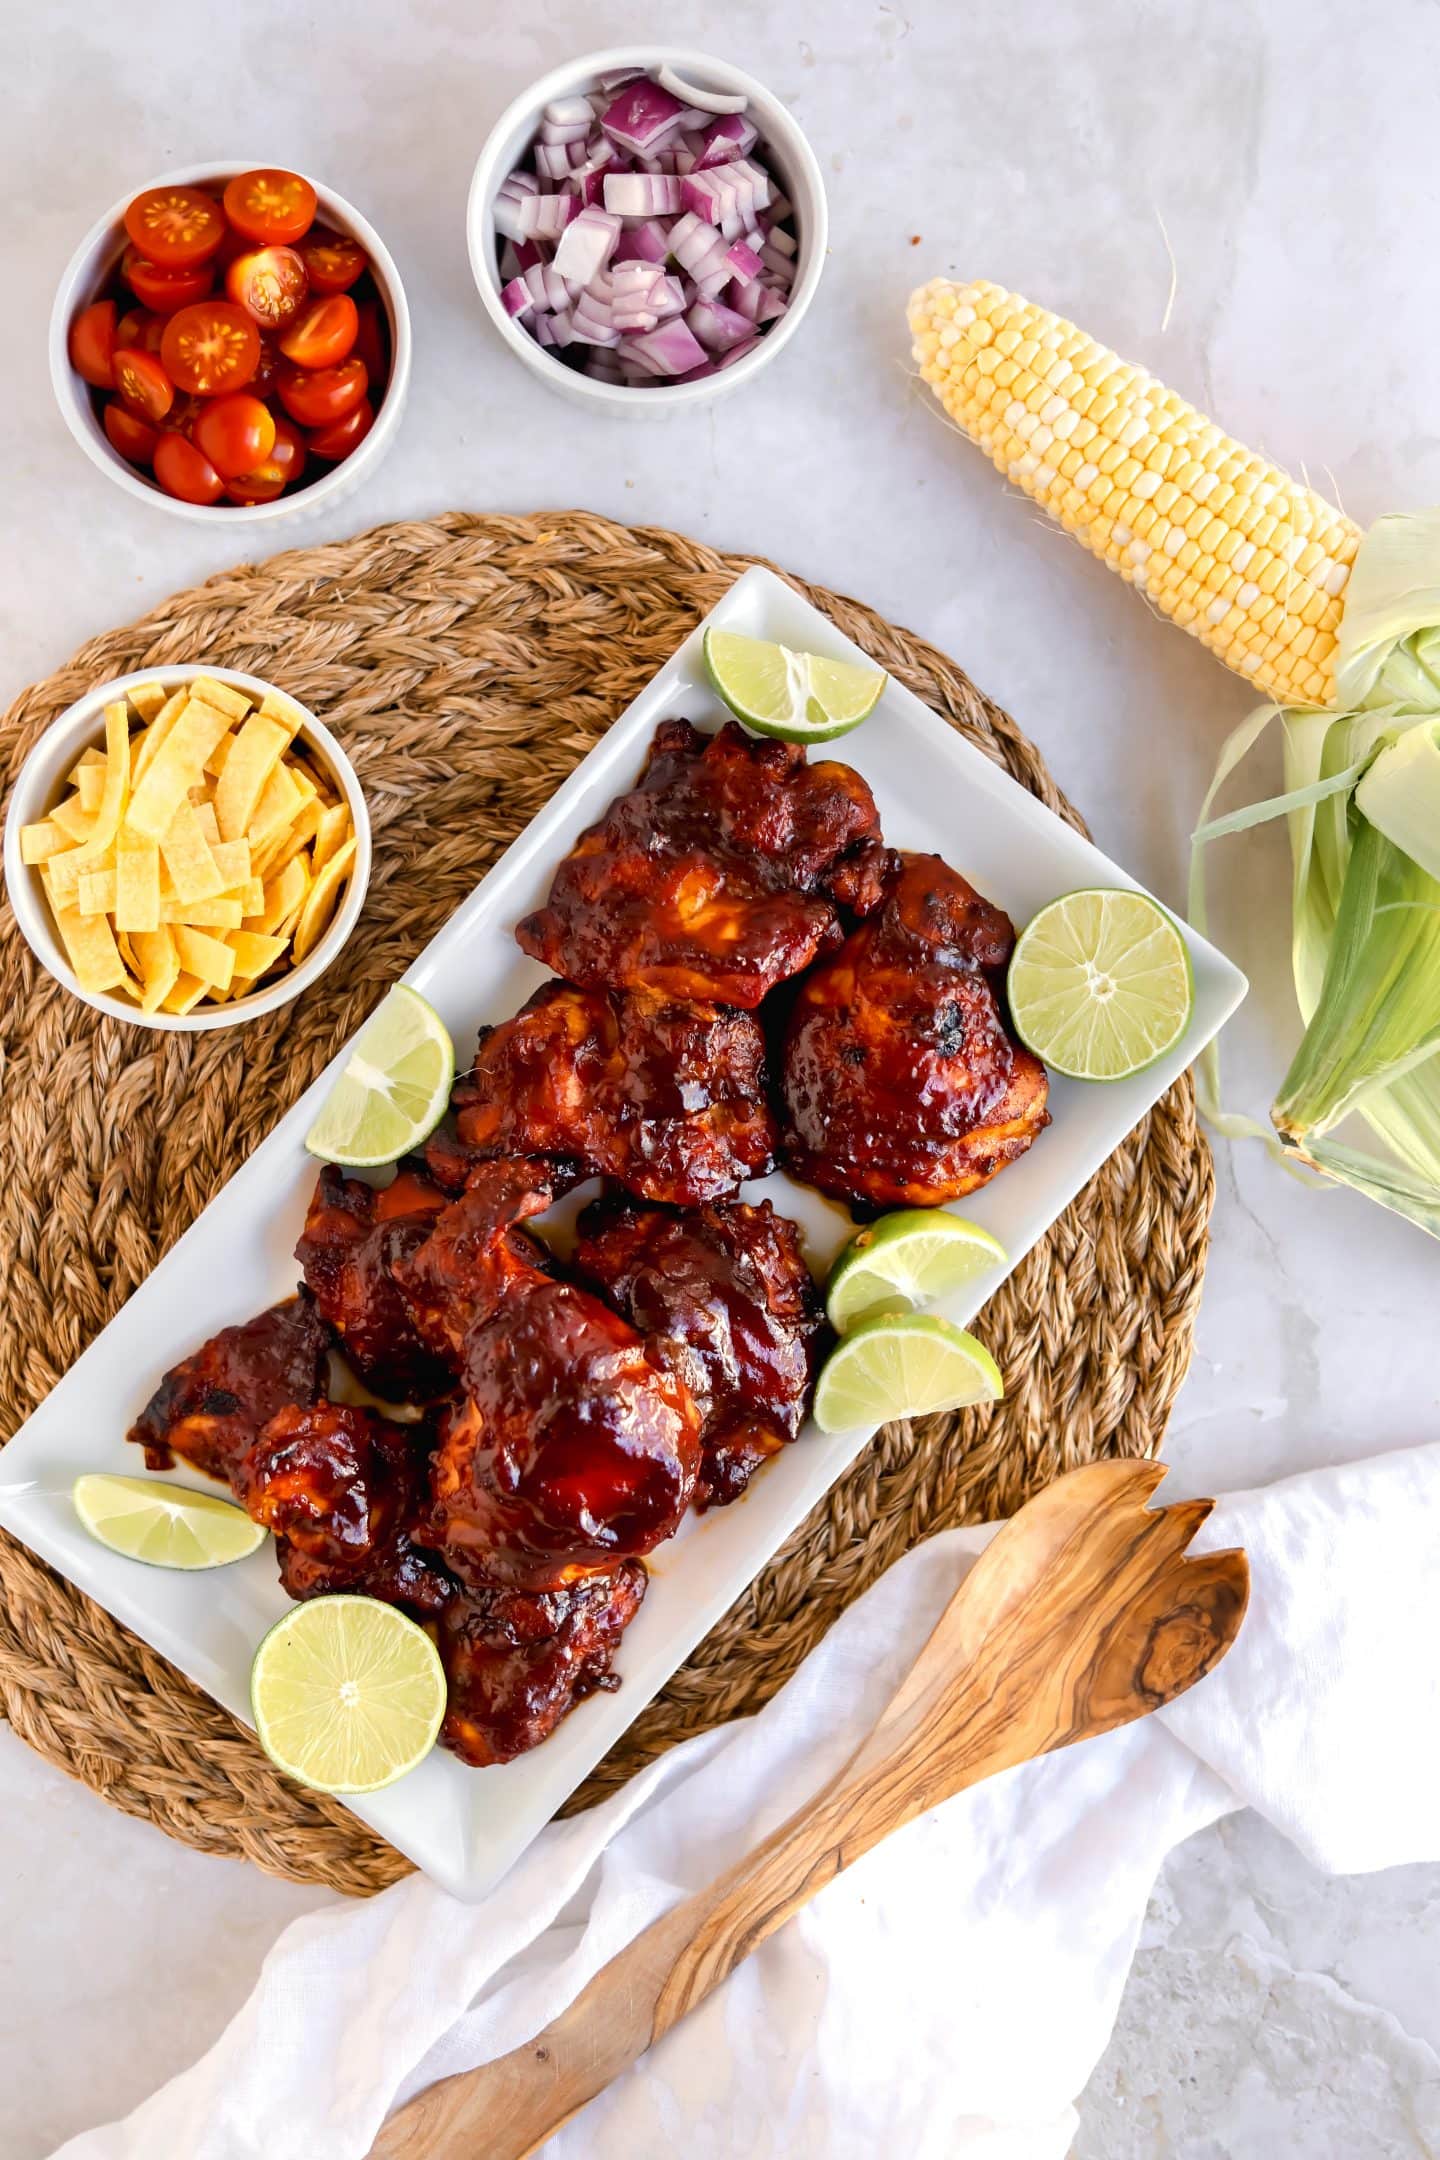
BBQ Baked Chicken will quickly become part of your weeknight dinner rotation! The chicken thighs are tender and succulent on the inside, and sticky and crisp on the outside.
You can use any barbecue sauce you like and let the chicken cook while you prepare the sides. Enjoy this bbq Chicken in a chicken salad or with your favorite bbq chicken sides, like Pan Fried Potatoes with Herbs and Italian Pasta Salad. These versatile thighs are also perfect for meal planning because they are easy to store and reheat.
Jump to:
About This Chicken
- Taste - Chicken thighs are juicy and flavorful. Cook them in your favorite tangy, sweet, or spicy BBQ sauce!
- Texture - BBQ baked chicken thighs have tender meat that falls off the bone and crispy skin loaded with BBQ flavor. The boneless, skinless version is also very succulent and juicy.
- Effort - These chicken thighs are effortless! They require a few kitchen essentials, a few minutes of prep, and occasional basting while the chicken thighs cook.
- Time - Boneless skinless thighs take under 40 minutes to make, and the bone-in, skin-on thighs take under and hour. While the chicken cooks, make your sides so dinner comes together in under an hour.
Which Cut of Chicken Should You Use
The cut of chicken influences how juicy and flavorful the chicken is. For example, aren't as juicy or flavorful as thighs or legs. For this recipe, we recommend bone-in, skin-on chicken thighs, legs, and wings. Bones and skin add so much flavor to the chicken during the cooking process.
But if you want to make this recipe simpler or just prefer the texture, opt for boneless skinless chicken thighs. This cut of meat is also a great option for salads, like the BBQ Chicken Salad with Greek Yogurt Ranch. You can even use this same method to make chicken drummettes for a tasty appetizer.
How to Make Sure the BBQ Sauce is Thick
In order to ensure the BBQ sauce is completely incorporated onto the chicken, we brush the bone-in, skin-on chicken thighs twice. After the second brushing, there will be a sticky and thick layer of BBQ sauce on each piece of chicken.
Ingredients
- Chicken thighs - We typically opt for boneless, skinless or bone-in, skin-on thighs. Bone-in, skin-on thighs typically have more flavor, just be sure to cook the chicken for 10 minutes longer or until the internal temperature reaches 165°F.
- Barbecue sauce - Use your favorite barbecue sauce to dress the chicken. One of our favorite bbq sauces is Stubb's because they do not use artificial flavors or colors. However, you can use any sauce you want. You can also use a homemade sauce if you have time to make it.
- Kosher salt - Enhances the barbecue flavors.
- Black pepper - Adds a little spice to the chicken.
Instructions
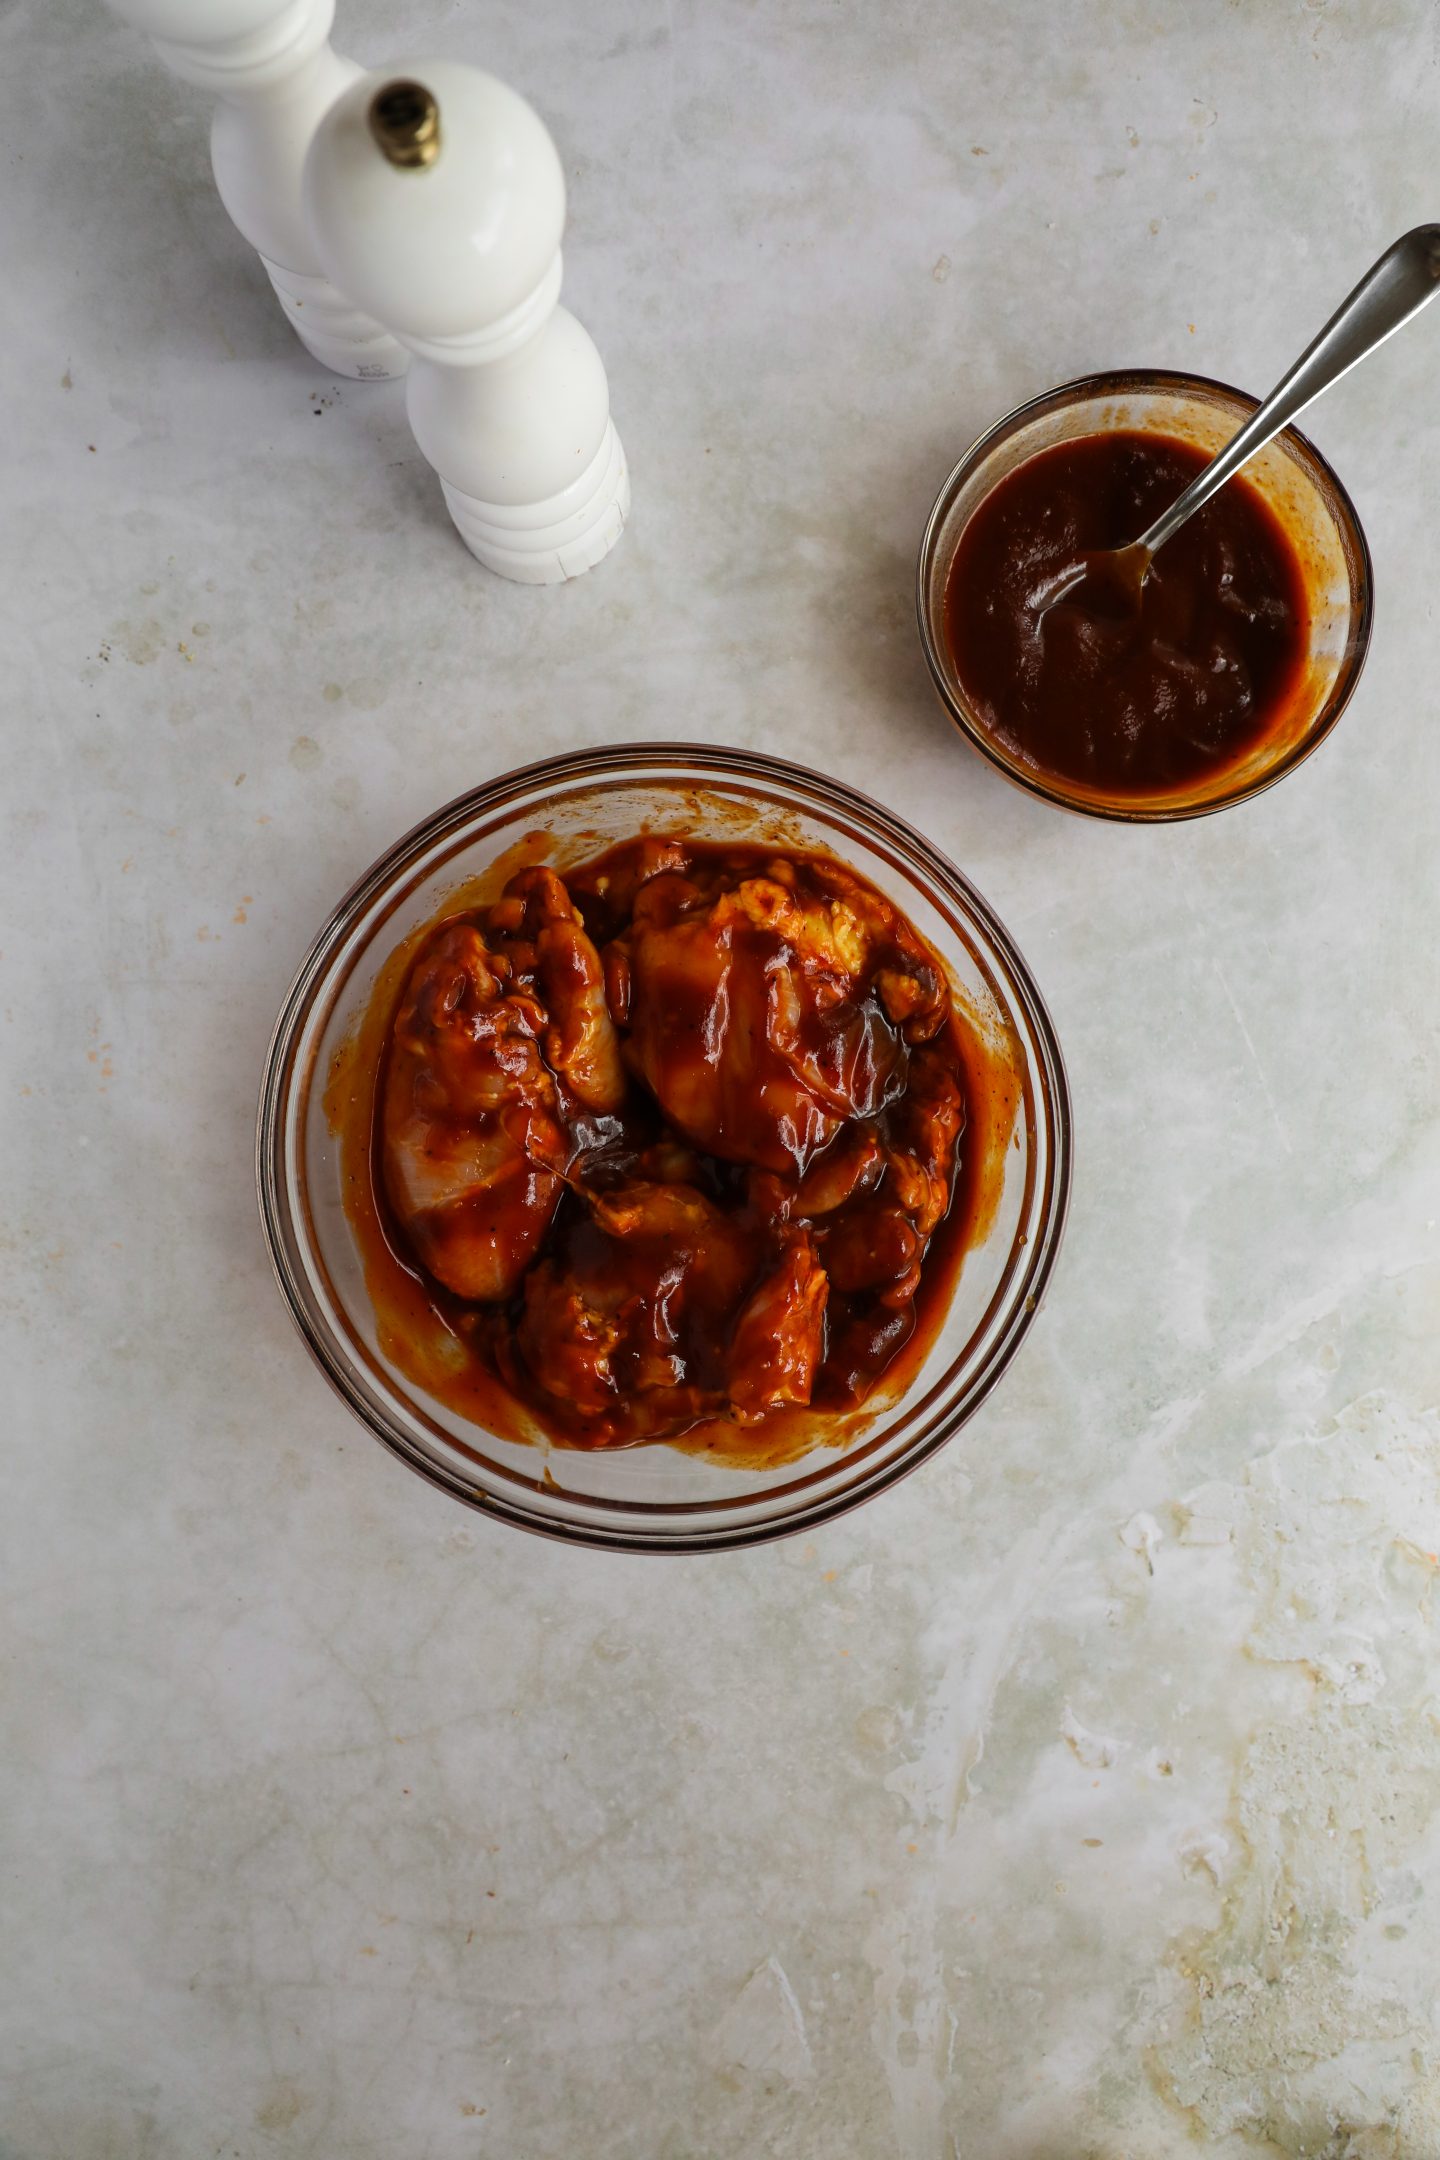
- Season and coat chicken thighs - Place chicken thighs in a mixing bowl and season with salt and pepper. Then, coat with a half cup of barbecue sauce so each piece is evenly coated. Let it marinate in the fridge for 30 minutes.
- Preheat oven - Heat oven to 400°F.
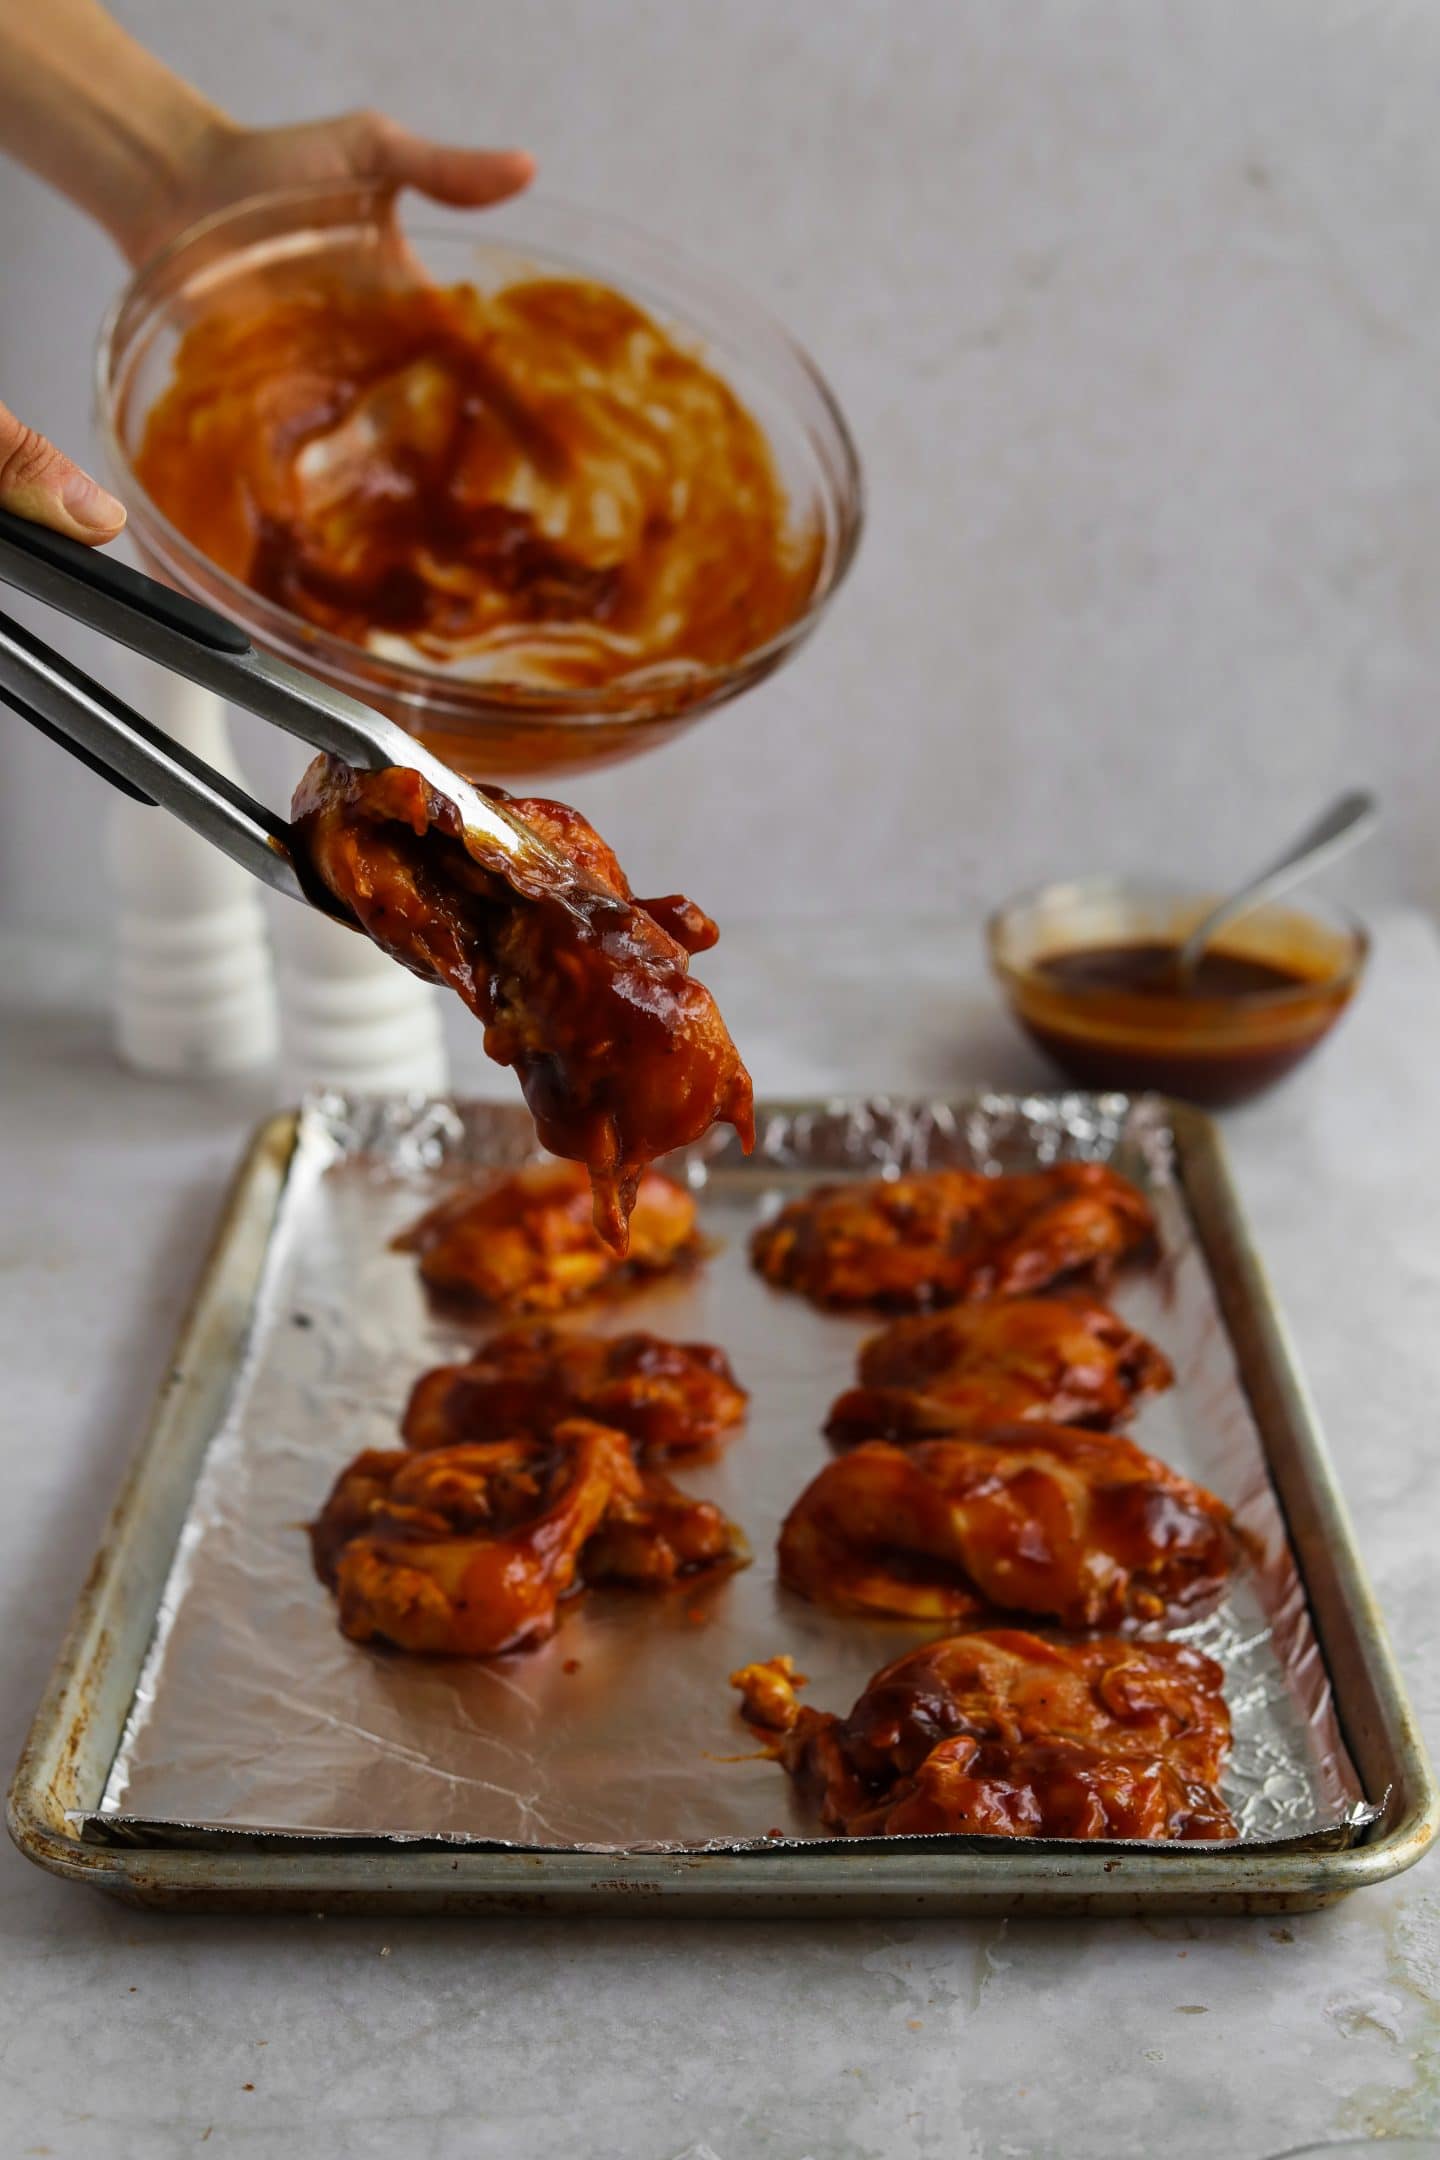
- Bake chicken - Place on a foil-lined baking sheet or a cooling rack on top of a baking sheet. Place in the oven and cook for 30-35 minutes or until the internal temperature is 165°F (74°C).
- Brush with BBQ sauce then brush again - Remove from oven and baste with additional sauce, then turn on the broiler and broil for an additional 5 minutes.
- Let chicken cool then serve - Remove chicken from oven and allow to cool for 10 minutes. Serve as part of a BBQ Chicken Salad and/or with your favorite sides.
Bone-In, Skin-On Instructions
- Prepare chicken - Pat the chicken dry with a paper towel. Place chicken thighs in a mixing bowl and season with salt and pepper. Then, coat with a half cup of barbecue sauce so each piece is evenly coated. Let it marinate in the fridge for 30 minutes.
- Heat oven - Heat oven to 400°F.
- Bake chicken - Line a rimmed baking sheet with aluminum foil and place a wire cooling rack on top. Arrange the chicken skin-side up on the wire rack, leaving space between each piece. Place in the oven and cook for 50 minutes. Cook until the internal temperature is 165°F (74°C) and the juices run clear.
- Baste the chicken - Remove from oven and turn the oven to broil. Turn the chicken thighs skin-side down and brush a thick coat of barbecue sauce on each piece of chicken. Place the chicken thighs in the oven and broil for 2-3 minutes. Remove from oven, flip the chicken over using tongs, baste with the remaining sauce, then broil the chicken skin-side up for an additional 5-6 minutes or until the skin is slightly charred.
- Serve and enjoy - Remove from the oven and plate on a serving dish. Serve immediately.
How to Make the Chicken Skin Crispy
Three components of the cooking process create crispy chicken skin every time: moisture, heat, and air flow.
- Moisture - First, make sure you pat the chicken skin dry with a paper towel to absorb any extra moisture. This will prevent the skin from going into the oven too moist, thus potentially soggy.
- Heat - Just as in all dishes that are cooked, the temperature the ingredients are cooked at determines the texture. High heat makes the skin crispy versus a slow cook.
- Air Flow - Baked chicken often turns soggy because there isn't enough airflow around the chicken pieces. To make the skin crispy, bake the chicken on a baking rack on the baking sheet, creating airflow under and around the chicken pieces.
Substitutions
- Chipotle Sauce - Use chipotle sauce or Spicy Mayo (Sauce for Poke, Sushi, and More) as a dipping sauce.
- Chicken thighs - Instead of chicken thighs, toss leftover rotisserie chicken in BBQ sauce and bake for a few minutes until warm. Substitute chicken thighs for pulled pork, rib meat, or steak.
- Homemade BBQ sauce - If you have the time or prefer a lower sugar BBQ sauce, you can make your sauce at home.
Variations
- Spicy - Add sriracha or hot sauce to the BBQ sauce to add heat to the sauce. You can also add paprika or chili powder.
- Garlic Powder - Add ½ teaspoon of garlic powder to the bbq sauce to add the quintessential flavor.
- Onion Powder - Add ½ teaspoon onion powder to the bbq sauce for a pungent and sweet flavor.
Equipment
This gluten free BBQ chicken recipe calls for a few kitchen essentials that can be used for countless other recipes. For this recipe, you will need a baking sheet, wire rack, mixing bowl, tongs, a knife, and cutting board.
Storage
Store the BBQ chicken thighs in an airtight container in the fridge for up to 3 days. After 3 days, you need to freeze the chicken. According to the USDA, frozen cooked chicken can last up to 3 months in the freezer. In order to reheat the chicken, heat the oven to 350°F, then reheat chicken for 10 minutes. If frozen, let the chicken thaw first before reheating it.
What to Serve with BBQ Baked Chicken Thighs
This barbecue chicken thighs recipe is an approachable, flavorful weeknight dinner. Serve it with these delicious sides for a complete meal:
- BBQ Chicken Salad
- Elotes Style Corn with Furikake
- Roasted Asparagus with Parmesan
- Pan Fried Potatoes with Herbs
- Furikake and Lemon Shishito Peppers
Similar Chicken Recipes
If you loved our chicken thigh recipe, check out these similar delicious chicken recipes:
- Chicken Katsu (Japanese Chicken Cutlet)
- Fig Balsamic Glazed Chicken
- Roast Chicken Thighs and Vegetables
- Dutch Oven Whole Chicken with Meyer Lemon
- BBQ Pulled Chicken Burgers (Sandwiches and Sliders)
📖 Recipe
BBQ Baked Chicken Thighs (Baked in Oven)
Equipment
Ingredients
- 1 cup Barbecue sauce
- 2 lbs Bone-in, skin-on chicken thigh and legs
- 1 tablespoon Kosher salt
- 2 tablespoon black pepper
Instructions
Boneless Skinless Chicken Thighs
- Prepare chicken - Place chicken thighs in a mixing bowl and season with salt and pepper. Then, coat with a half cup of barbecue sauce so each piece is evenly coated. Let it marinate in the fridge for 30 minutes.
- Preheat oven - Heat oven to 400°F.
- Bake chicken - Place on a foil-lined baking sheet or a cooling rack on top of a baking sheet. Place in the oven and cook for 30-35 minutes or until the internal temperature is 165°F (74°C).
- Brush with BBQ sauce and broil - Remove from oven and baste with additional sauce, then turn on the broiler and broil for an additional 5 minutes.
- Serve - Remove chicken from oven and serve.
Bone-In, Skin-On Chicken Thighs
- Prepare chicken - Pat the chicken dry with a paper towel. Place chicken thighs in a mixing bowl and season with salt and pepper. Then, coat with a half cup of barbecue sauce so each piece is evenly coated. Let it marinate in the fridge for 30 minutes.
- Heat oven - Heat oven to 400°F.
- Bake chicken - Line a rimmed baking sheet with aluminum foil and place a wire cooling rack on top. Arrange the chicken skin-side up on the wire rack, leaving space between each piece. Place in the oven and cook for 45-50 minutes, turning halfway through. Cook until the internal temperature is 165°F (74°C) and the juices run clear.
- Brush with BBQ sauce and broil - Remove from oven and turn the oven to broil. Keep the chicken thighs skin-side down and brush a thick coat of barbecue sauce on each piece of chicken. Place the chicken thighs in the oven and broil for 3 minutes. Remove from oven, flip the chicken over using tongs, baste with the remaining sauce, then broil the chicken skin-side up for an additional 5 minutes or until the skin is slightly charred. Cook a little longer if you prefer charred chicken.
- Serve - Remove from the oven and plate on a serving dish. Serve immediately.








Paula A Nakayama
What a good idea to broil it for 5 minutes after baking! Will be sure to try; I'm sure it will be as good as your other recipes.