
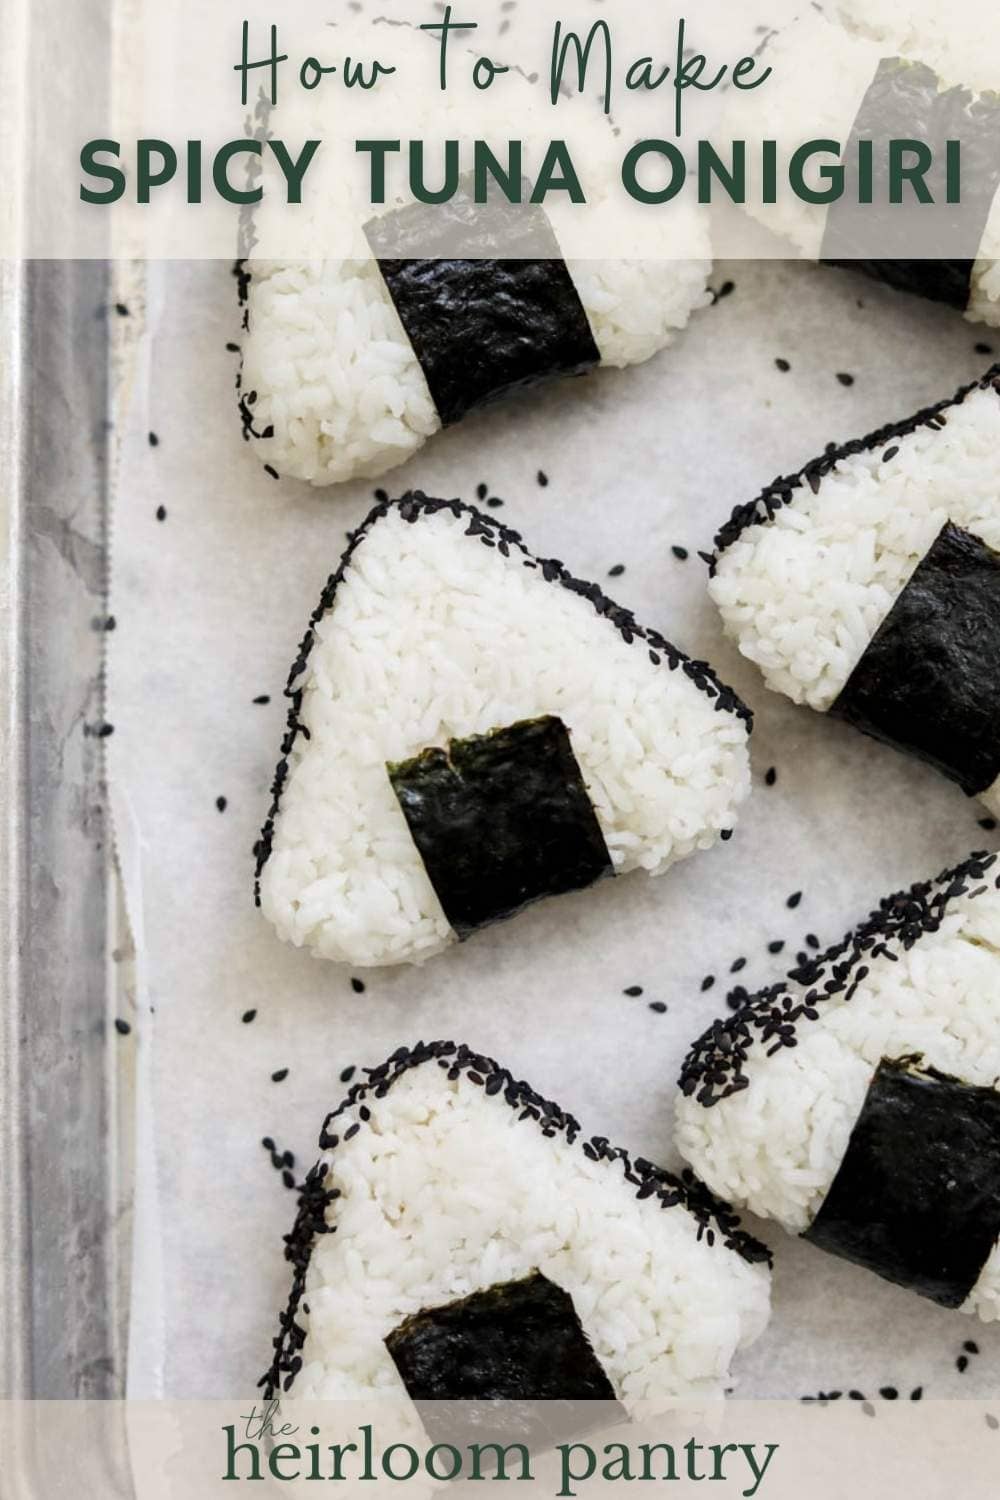
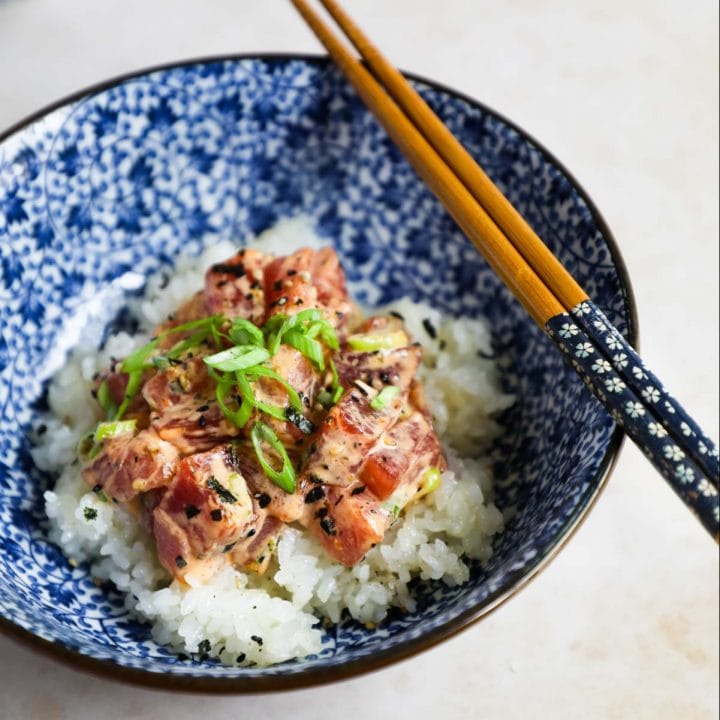
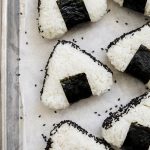
Spicy Tuna Onigiri are Japanese rice balls featuring Japanese sticky rice stuffed with spicy Kewpie mayo tuna and wrapped in savory nori. These rice balls are the perfect on-the-go treat or satisfying snack. Check out our easy steps to assemble a batch in under an hour!
What is Onigiri?
Onigiri is a traditional and widely popular Japanese dish that consists of Japanese sticky rice wrapped in savory nori. It is typically circular or triangular in shape and enjoyed in a bento box or as a yummy snack. These onigiri compliment udon or any other Japanese main course perfectly.
Jump to:
About Spicy Tuna Onigiri
- Taste - The spicy tuna is the star of the show in this dish. The plain rice and light salty flavor of the nori balance the vibrant spicy tuna.
- Texture - The spicy tuna is soft and chewy while the rice and nori are soft and light.
- Effort - One of the best things about these rice balls is how easy and fun they are to make. We enjoy making onigiri together and think you will to.
- Time - Depending on how you prepare the rice, it takes about 30 minutes to make. Then it takes about 20 minutes to mix the spicy tuna and make the rice balls.
Ingredients
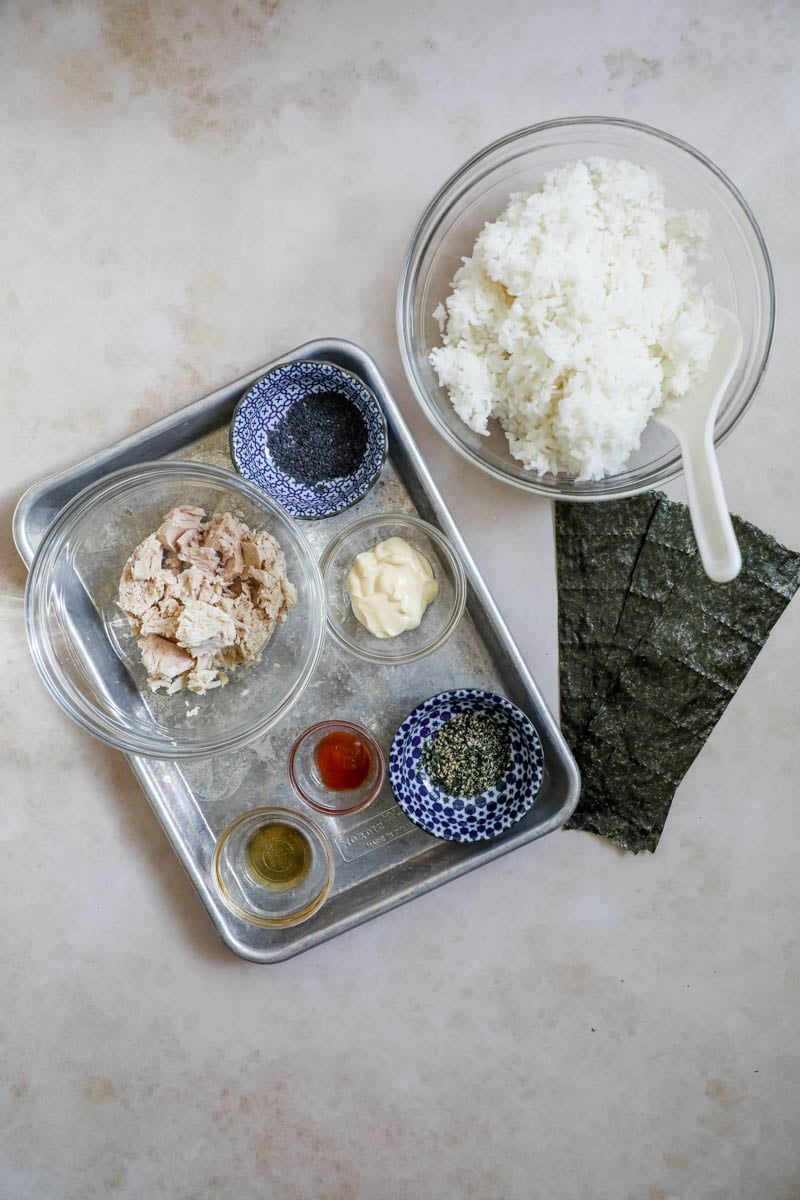
Tuna Onigiri
- Rice - Japanese short grain rice is best for onigiri because it is both sticky and fluffy enough to retain its shape. The rice is also lightly salted for flavor.
- Nori - Nori is dried Japanese seaweed that is used to wrap the onigiri and keep the rice and tuna mayo filling together. Nori sheets also provides a makeshift handle to eat the onigiri and tastes delicious with the other ingredients.
- Canned tuna - Tuna is a hearty and simple filling. We mix the tuna with spicy mayo for added kick.
- Black Sesame seeds - We sprinkle black sesame seeds on the onigiri to add a mild and nutty flavor.
Spicy Kewpie Mayo
- Kewpie mayo - Kewpie mayo is a Japanese pantry staple and the base of spicy mayo. This Japanese mayonnaise has a rich umami flavor and creamy consistency. Kewpie mayo combines with the other ingredients to create a delicious onigiri tuna mayo.
- Sriracha - Sriracha sauce adds a hint of heat without overpowering the sauce.
- Sesame oil - Sesame oil has a toasty flavor and nutty aroma
- Mirin - Mirin is a sweet Japanese rice wine that adds to the umami flavor and is the base of many Japanese sauces and marinades.
See recipe card for quantities.
Substitutions
- White Sesame Seeds - Use white sesame seeds instead of black if you prefer a milder nutty flavor.
- Brown Rice - You can use Japanese brown rice instead of white rice for a healthier option, but make sure to use plenty of water so the rice is sticky enough to form into a ball.
- Sushi Rice - While onigiri is typically made with standard Japanese rice, you can also make onigiri with sushi rice (vinegar seasoned rice) if you prefer the taste.
- Miso sauce - Drizzle a little of our miso sauce recipe on the tuna instead of spicy mayo for a milder umami flavor.
Variations
- Furikake - Furikake is a Japanese seaweed seasoning. Furikake rice seasoning consists of dried nori, sesame seeds, and salt. There are other types of furikake, which have dried bonito flakes, rice puffs, shrimp, and other bits of umami-packed ingredients. Sprinkling furikake on any type of onigiri adds a new flavorful dimension.
- Spam Musubi - A Hawaii version of onigiri that consists of cooked spam and rice surrounded by nori. You can also add scrambled egg for extra protein and flavor. We always enjoy these when we go back to Hawaii.
- Yaki onigiri - Yaki onigiri is grilled onigiri. These grilled onigiri can be made with or without fillings.
- Extra Spicy - Add extra Sriracha and togarashi to the spicy mayo recipe to make the tuna extra spicy.
Instructions
- Make the rice - In a pot, bring the rice to a low boil, then reduce the heat to low. Cover the pot and simmer for 20 minutes or until the water is absorbed. Remove from the heat and fluff the rice with a fork. Alternatively, make the rice in a rice cooker.
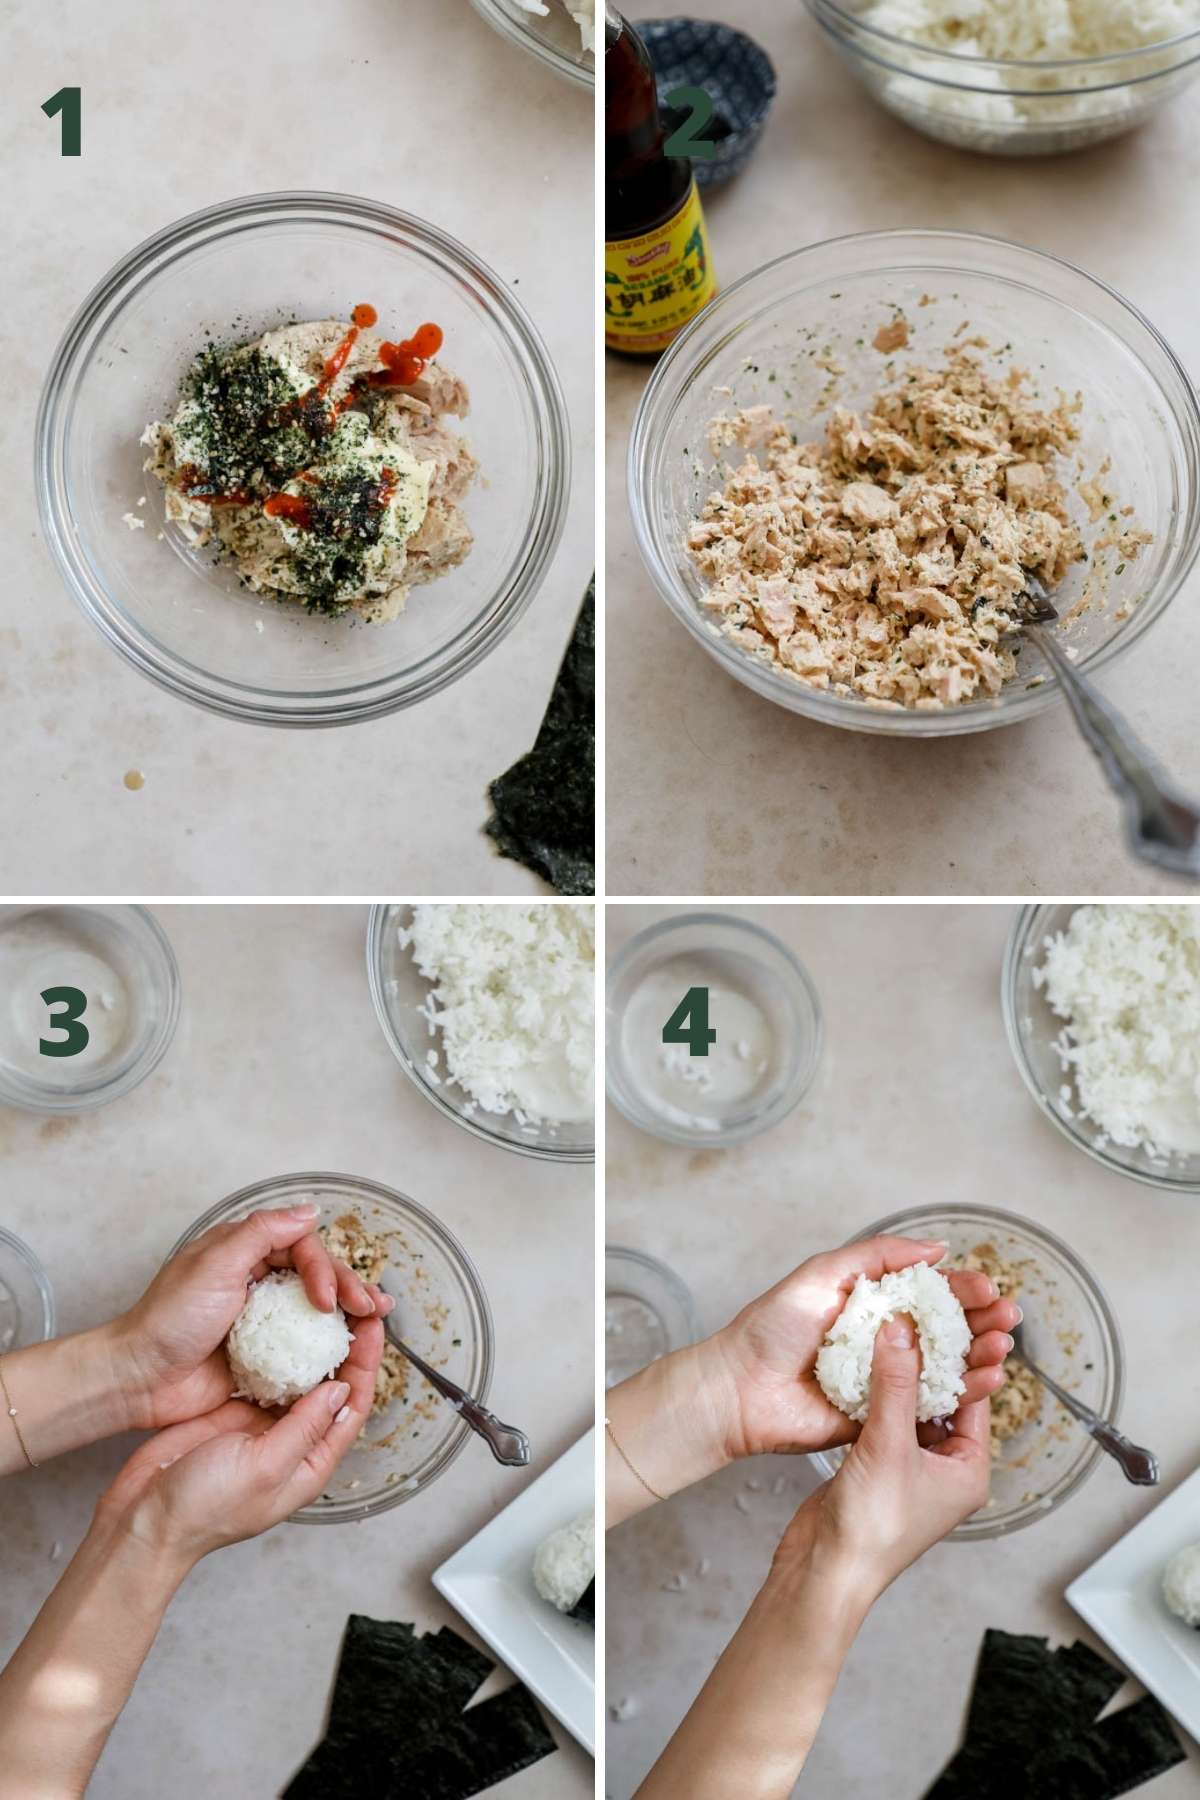
- Make the tuna mixture - While the rice cooks, make the tuna filling. In a mixing bowl, add drained canned tuna, Kewpie mayo, Sriracha, sesame oil, and furikake to a small bowl. Combine the ingredients with a fork until the tuna is flaky and the ingredients are incorporated.

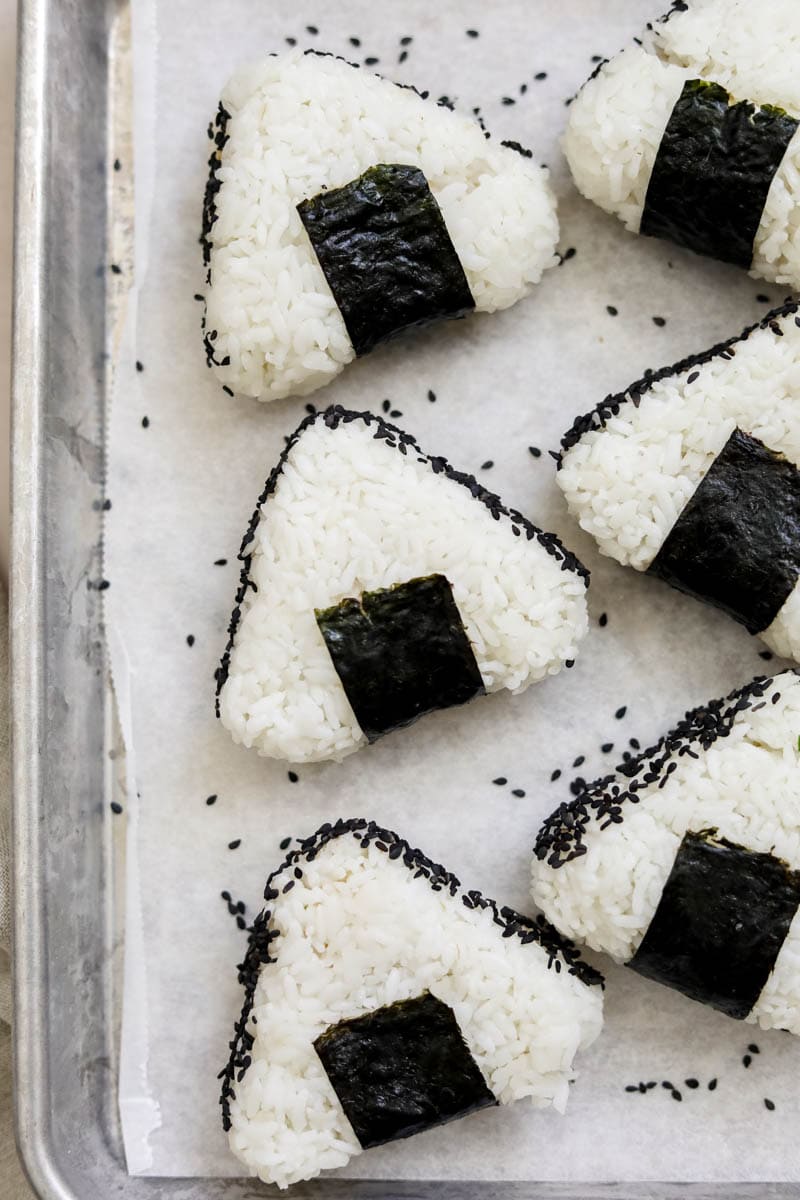
- Assemble - Allow the hot rice to cool until warm or room temperature. To shape the onigiri rice balls, wet your hands and spread a small amount of salt on your palms. Place a handful of cooked rice in your hand and gently shape it into a ball. Make an indentation in the center of the rice, add about a tablespoon of the tuna to the indentation, then cover the tuna with a little more rice. To form the ball into a triangle, place the ball in your left hand and use your right hand to gently angle the ball into a triangle shape.
- Wrap - Wrap the rolls with a small sheet of nori seaweed, roll in sesame seeds, and enjoy.
Pro tip - Keep a bowl of water next to your station. Wet hands regularly with the water to prevent the rice from sticking to your hands during assembly.
What to Serve with Onigiri
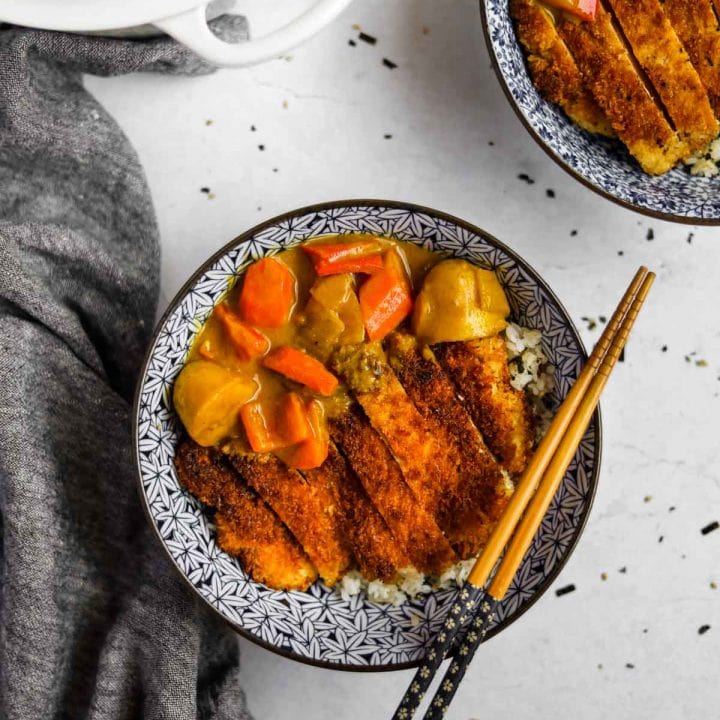
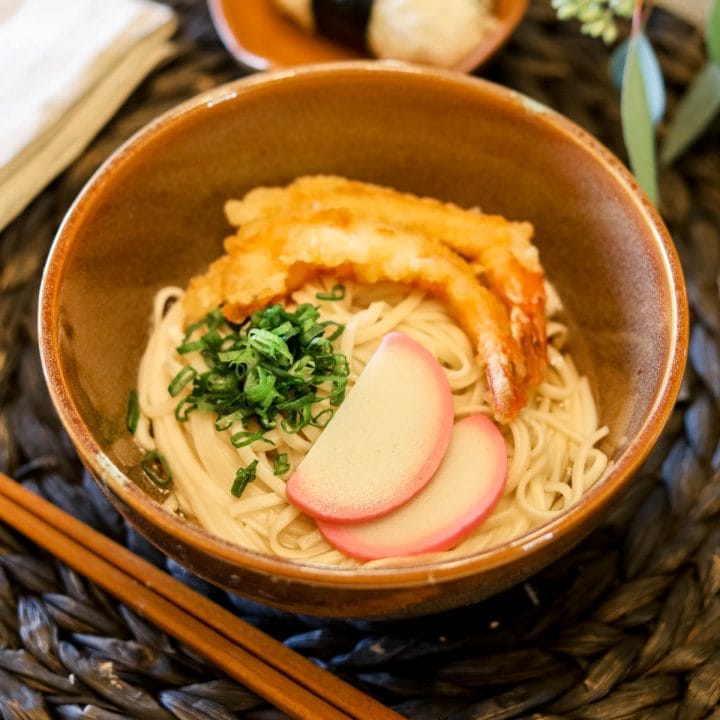
These tuna onigiri can be enjoyed on their own as snack or with other dishes for a full meal. Some of our favorite veggies to pair with onigiri are our Furikake and Lemon Shishito Peppers and Elotes Style Corn Recipes. We also love to pair it with sushi like our Spicy Kani Roll and Alaska Roll.
Other Onigiri Fillings
The potential combinations of onigiri are endless. Here are a few other great options:
- Sujiko - Sujiko is salmon roe or fish eggs. Salmon roe have a unique fresh and briny taste.
- Ume - Ume is a Japanese plum. When pickled or fermented, it creates umeboshi which has a unique combination of sweet, salty, and tart flavors. Japanese pickled plum pairs perfectly with rice and nori. gluten free buns instead of white bread buns to make this gluten-free.
- Okaka - Okaka is a Japanese rice seasoning consisting of bonito flakes (simmered, smoked, and fermented tuna) and soy sauce. Given its simple nature, Okaka is one of the easiest Onigiri to make.
- Beef - Shredded beef with onions is a rich alternative to fish based Onigiri.
- Kombu - Kombu is dried kelp. It is a delicious umami and briny filling.
- Normal Tuna - If you want to make this Onigiri with normal non-spicy tuna, just omit the spicy mayo.
Recipe FAQs
Onigiri can fall apart for several reasons. First, make sure you are using Japanese short grain, sticky rice. Short grain rice has a lot of starch that helps it to stick together whereas longer grain rice doesn't have as much starch and won't stick together well. Also, make the rice is still warm and not cold when you try to mold it otherwise the rice won't stick together.
According to legend, travelers in Japan would ask for protection from the spirits (kami) who inhabited nature by moulding rice balls into the triangle shape of a mountains. The traditional triangle shape is also space efficient and easy to carry around.
Yes, absolutely! Replace the tuna with finely chopped mushrooms, sweet potatoes, umeboshi, or your favorite vegetable. Make onigiri with your favorite fillings!
Equipment
This tuna onigiri recipe requires a few kitchen essentials. To make tuna mayo onigiri, you will need mixing bowls, a pot or rice cooker to make the rice, and a rice paddle. If you don't want to hand shape the onigiri, you can use an onigiri rice ball mold (triangle sushi mold). For the spicy mayo, you will also need measuring spoons and a spoon or chopsticks to mix it.
Storage
These triangle sushi can be stored in an air-tight container or plastic wrap and can be refrigerated for up to 3 days. The key is to keep the moisture locked in so the onigiri don't dry out. If you want to take the onigiri to go for lunch, plastic wrap or a bento box will both work well. This tuna mayo onigiri recipe does not stand up well to freezing.
Top Tips
- Make sure the steamed rice is cool before adding the tuna onigiri filling and nori.
- Don’t form the rice balls too tightly or they will be too hard.
Related Recipes
Did You Like This Recipe?
Love these spicy tuna onigiri? Please leave a 5-star rating in the recipe card & leave a comment below. Thanks in advance!
Sign up for THP's newsletter and keep in touch on Instagram, Facebook, Pinterest, TikTok, and YouTube. If you make this recipe, tag #theheirloompantry so we can see your homemade onigiri!
📖 Recipe
Spicy Tuna Onigiri (Japanese Rice Balls)
Equipment
- 1 pot
Ingredients
- 1½ cups Japanese rice
- 2 cups Filtered water
Filling
- 4 oz Canned tuna, drained
- 1 tablespoon Kewpie mayo
- 1 teaspoon Sriracha
- ½ teaspoon Sesame oil
- 1 teaspoon Mirin
- 1 tablespoon Furikake
- 1 Sheet nori cut into 8 pieces, or use pre-cut nori
- Toasted sesame seeds optional
Instructions
Rice
- Stovetop instructions - Place rice in a saucepan and rinse the rice in the sink until the water runs clear, then drain. Combine washed rice and filtered water in a medium saucepan. Bring the rice to a low boil, then reduce the heat to low. Cover the pot and simmer for 20 minutes or until the water is absorbed. Remove from the heat and let sit covered for 10 minutes. Fluff the rice with a fork.1½ cups Japanese rice, 2 cups Filtered water
- Rice cooker instructions - Place rice in the electric rice cooker pot and rinse the rice in the sink until the water runs clear, then drain. Combine rice and filtered water in the pot and cook per the rice cooker directions.1½ cups Japanese rice, 2 cups Filtered water
Spicy Tuna Onigiri
- Make the tuna - While the rice cooks, make the tuna filling. In a mixing bowl, add drained tuna, Kewpie mayo, Sriracha, sesame oil, mirin, and furikake to a small bowl. Combine the ingredients with a fork until the tuna is flaky and the ingredients are incorporated.4 oz Canned tuna, drained, 1 tablespoon Kewpie mayo, 1 teaspoon Sriracha, ½ teaspoon Sesame oil, 1 teaspoon Mirin, 1 tablespoon Furikake
- Assemble - Allow the hot rice to cool until warm. To shape the onigiri, wet your hands and spread a small amount of salt on your palms. Place a handful of rice in your hand and gently shape it into a ball. Make an indentation in the center of the rice, add about a tablespoon of the tuna to the indentation, then cover the tuna with a little more rice. To form the ball into a triangle, place the ball in your left hand and use your right hand to gently angle the ball into a triangle shape.
- Wrap - Wrap the rolls with a small sheet of nori seaweed, roll in sesame seeds, and enjoy. Add leftover tuna to the top of each onigiri triangle.1 Sheet nori, Toasted sesame seeds
Notes
- Refrigerate these Japanese rice balls in an air-tight container or plastic wrap for up to 3 days. This will keep the moisture locked in so the onigiri don't dry out. If you want to take the onigiri to go for lunch, plastic wrap or a bento box will both work well. This dish does not stand up well to freezing.
- Keep a bowl of water while making the onigiri. Wet your hands regularly with the water to prevent the rice from sticking to your hands during assembly.
- Make sure the steamed rice is cool before adding the filling and nori.
- Don’t form the rice balls too tightly or they will be too hard.


Leave a Reply